Zoom has become the backbone of remote communication for professionals, business owners, and remote workers alike. From team check-ins to client presentations, our reliance on video conferencing has skyrocketed. And let's be honest, trying to recall every detail of a productive meeting can often feel like an uphill battle. Enter the solution: recording your Zoom meetings. Recording meetings is not just convenient but essential. It ensures no key insights slip through the cracks, brings value to participants unable to attend, and serves as an archive for future reference. But did you know there’s a way to record and make the most out of your meetings efficiently? With tools like MinutesLink, recording and managing your meetings has never been smarter. Here’s a step-by-step guide on how you can record Zoom meetings, along with why MinutesLink is a game-changing tool for this process.
Recording meetings is essential for capturing valuable insights, providing access to those unable to attend, and maintaining an organized archive for future reference.
Tools like MinutesLink simplify the process of recording and managing meetings, offering a smarter and more efficient solution.
Leveraging the right tools ensures meetings are not only documented effectively but also maximized for long-term value and productivity.
The conventional way to record Zoom meetings
Zoom’s native recording feature is robust and allows users to save and replay discussions, making it a handy tool. However, the process can depend on whether you’re the meeting host or a participant.
Start or schedule your meeting: Sign in to your Zoom account and start a meeting or schedule one for later.
Click "Record" and choose location: At the bottom of the Zoom toolbar, click the "Record" button. Then select either "Record on this computer" or "Record to the cloud."
Manage recording during the meeting: Use the controls to pause or stop the recording as needed. These are typically in the lower right corner or on the screen view.
Access your recordings: After the meeting, find your recordings in your computer's documents folder, Zoom cloud storage, or the designated local folder.
Recording as a participant
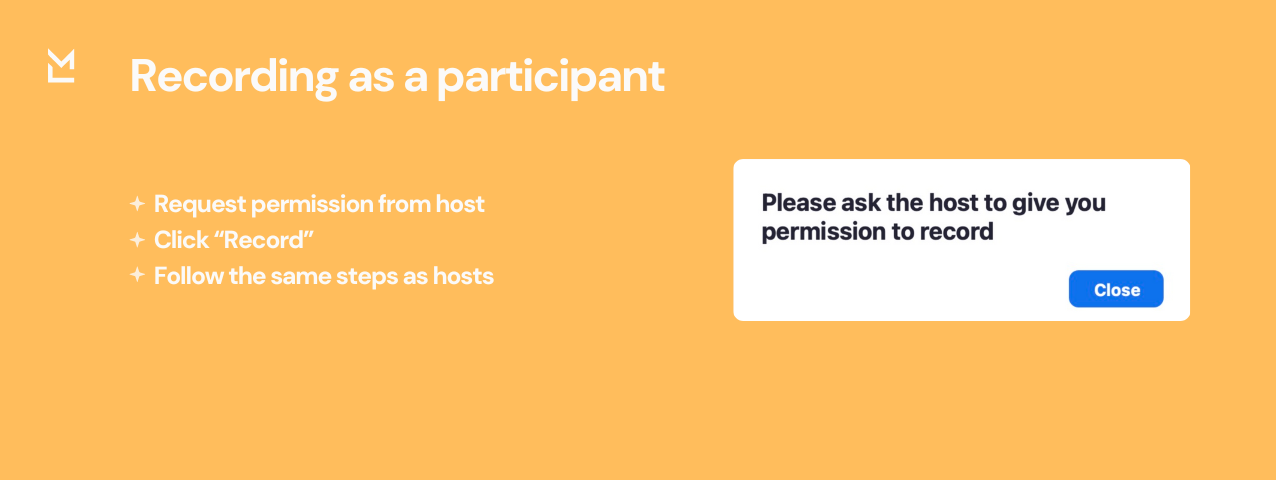
Participants can also record a Zoom meeting, but this depends on whether the host grants permission.
Request permission from host: Ask the host to enable recording for your account.
Click “Record”: After permission is granted, you can hit the recording icon in the toolbar to start.
Follow the same steps as hosts: Like the host process, participants pause, stop, and later retrieve their recording from the approved storage location.
Limitations of Zoom’s built-in recording methods
While Zoom’s recording feature is functional, it comes with certain limitations:
Host approval needed for participants: Without prior permissions, participants are unable to record meetings.
Manual summarization: Zoom recordings are stored as raw files, leaving you to watch the entire recording to extract actionable insights. This consumes time and effort.
Lack of advanced features: Zoom recordings only capture audio, video, and shared screen views. There are no automatically summarized notes, takeaways, or actionable items supported natively.
Thankfully, there’s a smarter, more efficient solution to this problem. Say hello to MinutesLink!
The smarter way to record Zoom meetings with MinutesLink
MinutesLink takes recording Zoom meetings to a whole new level. It doesn't just record your meetings; it captures, transcribes, and organizes them into actionable insights. Here’s why MinutesLink outshines traditional recording:
Automated summaries: It converts hours of recorded meetings into concise summaries of highlights, action items, and key points.
Seamless integration: MinutesLink integrates effortlessly with Zoom, letting you automate the recording process.
AI notes and analytics: You don’t just get recordings; you also receive intelligent transcripts and searchable notes.
No more manual work: MinutesLink removes the need for hours of playback to pull insights. Instead, you end each meeting with ready-to-use takeaways.
How MinutesLink works
Using MinutesLink is as easy as 1-2-3:
Connect it to your Zoom account: Log into your account on Zoom and sync it with MinutesLink.
Start your meeting: Once connected, MinutesLink starts recording and transcribing your Zoom meeting automatically.
Receive summaries post-meeting: After the meeting, MinutesLink provides you with action items, summaries, and even key highlights.
MinutesLink vs. conventional recordings
Comparing MinutesLink with Zoom's built-in options points out the obvious benefits:
Zoom requires time and effort to sift through recordings, while MinutesLink generates highlights automatically.
MinutesLink adds annotations and organizes content, whereas Zoom leaves users to manage raw files manually.
Only paid subscribers can heavily utilize the Zoom cloud storage. On the other hand, MinutesLink maximizes the features for all users.
Benefits of using MinutesLink for recording Zoom meetings
MinutesLink ensures that recording meetings is not only easier but far more productive. Here’s what makes it worthwhile:
Time-saving: Replace long hours reviewing recordings with instantly accessible summaries and details.
Comprehensive recording: From transcript accuracy to identifying every active speaker, MinutesLink ensures no moment is missed.
Enhancement for participants: Eliminates the barrier of needing host permission.
Centralized access: Store all your meetings and insights in one secure platform to stay organized and efficient.
MinutesLink — the future of meeting productivity
MinutesLink transforms how meetings are managed, going beyond simple recording. With multi-platform compatibility (Zoom, Google Meet, with Microsoft Teams coming soon.), advanced AI, and end-to-end encrypted security, it ensures professionals never miss action items, no matter how busy they are. Ideal for hybrid teams, remote workers, and project managers, MinutesLink combines productivity and clarity with powerful tools like note-sharing and GDPR compliance to elevate collaboration strategies.
Recording Zoom meetings is essential—but why stop there? With MinutesLink, take meeting productivity to new heights. Skip the struggle of summarizing or manually reviewing hours of recordings. Don’t just record your meetings; make them work for you.
Frequently Asked Questions
How to record a Zoom meeting?
To record a Zoom session, join as a host or ensure the host has granted you recording permission. Click the "Record" button at the bottom of the Zoom toolbar. Choose to record to your computer or the cloud. A small indicator will show that recording is in progress. When you're done, click "Stop Recording," and the file will save automatically to the designated location. After the session, you can access and share the recording as needed.
How to record on Zoom?
To record on Zoom, start by opening a session. If you’re the host or have recording permissions, you’ll see a "Record" button in the toolbar at the bottom of the screen. Click it to start recording. You can choose to save the recording locally on your computer or to the cloud, depending on your settings. Once you're done, click "Stop Recording," and the file will process and save automatically.
Can you record a Zoom meeting?
Yes, you can record a Zoom meeting if the host allows it. The host can enable recording for participants or record the meeting themselves. If you're the host, you can start recording by clicking the "Record" button on the toolbar.
How to record yourself on Zoom?
To record yourself on Zoom, open the app and start a new session. Make sure your microphone and camera are on, then click the "Record" button at the bottom of the screen. Choose whether to save the recording to your computer or the cloud. When finished, click "Stop Recording" and end the session to save the file. You can view your recording from the location you selected.
How to record Zoom meeting on iPhone?
To record a Zoom session on your iPhone, first ensure recording is enabled for attendees. Open the Zoom app, join the session, and tap "More" (three dots) in the bottom-right corner. If recording is enabled, you'll see a "Record to the Cloud" option. Tap it to start recording. Once it ends, the recording will be available in your Zoom profile under "Recordings." If you’re managing the session, enable recording permissions in your Zoom settings beforehand.